
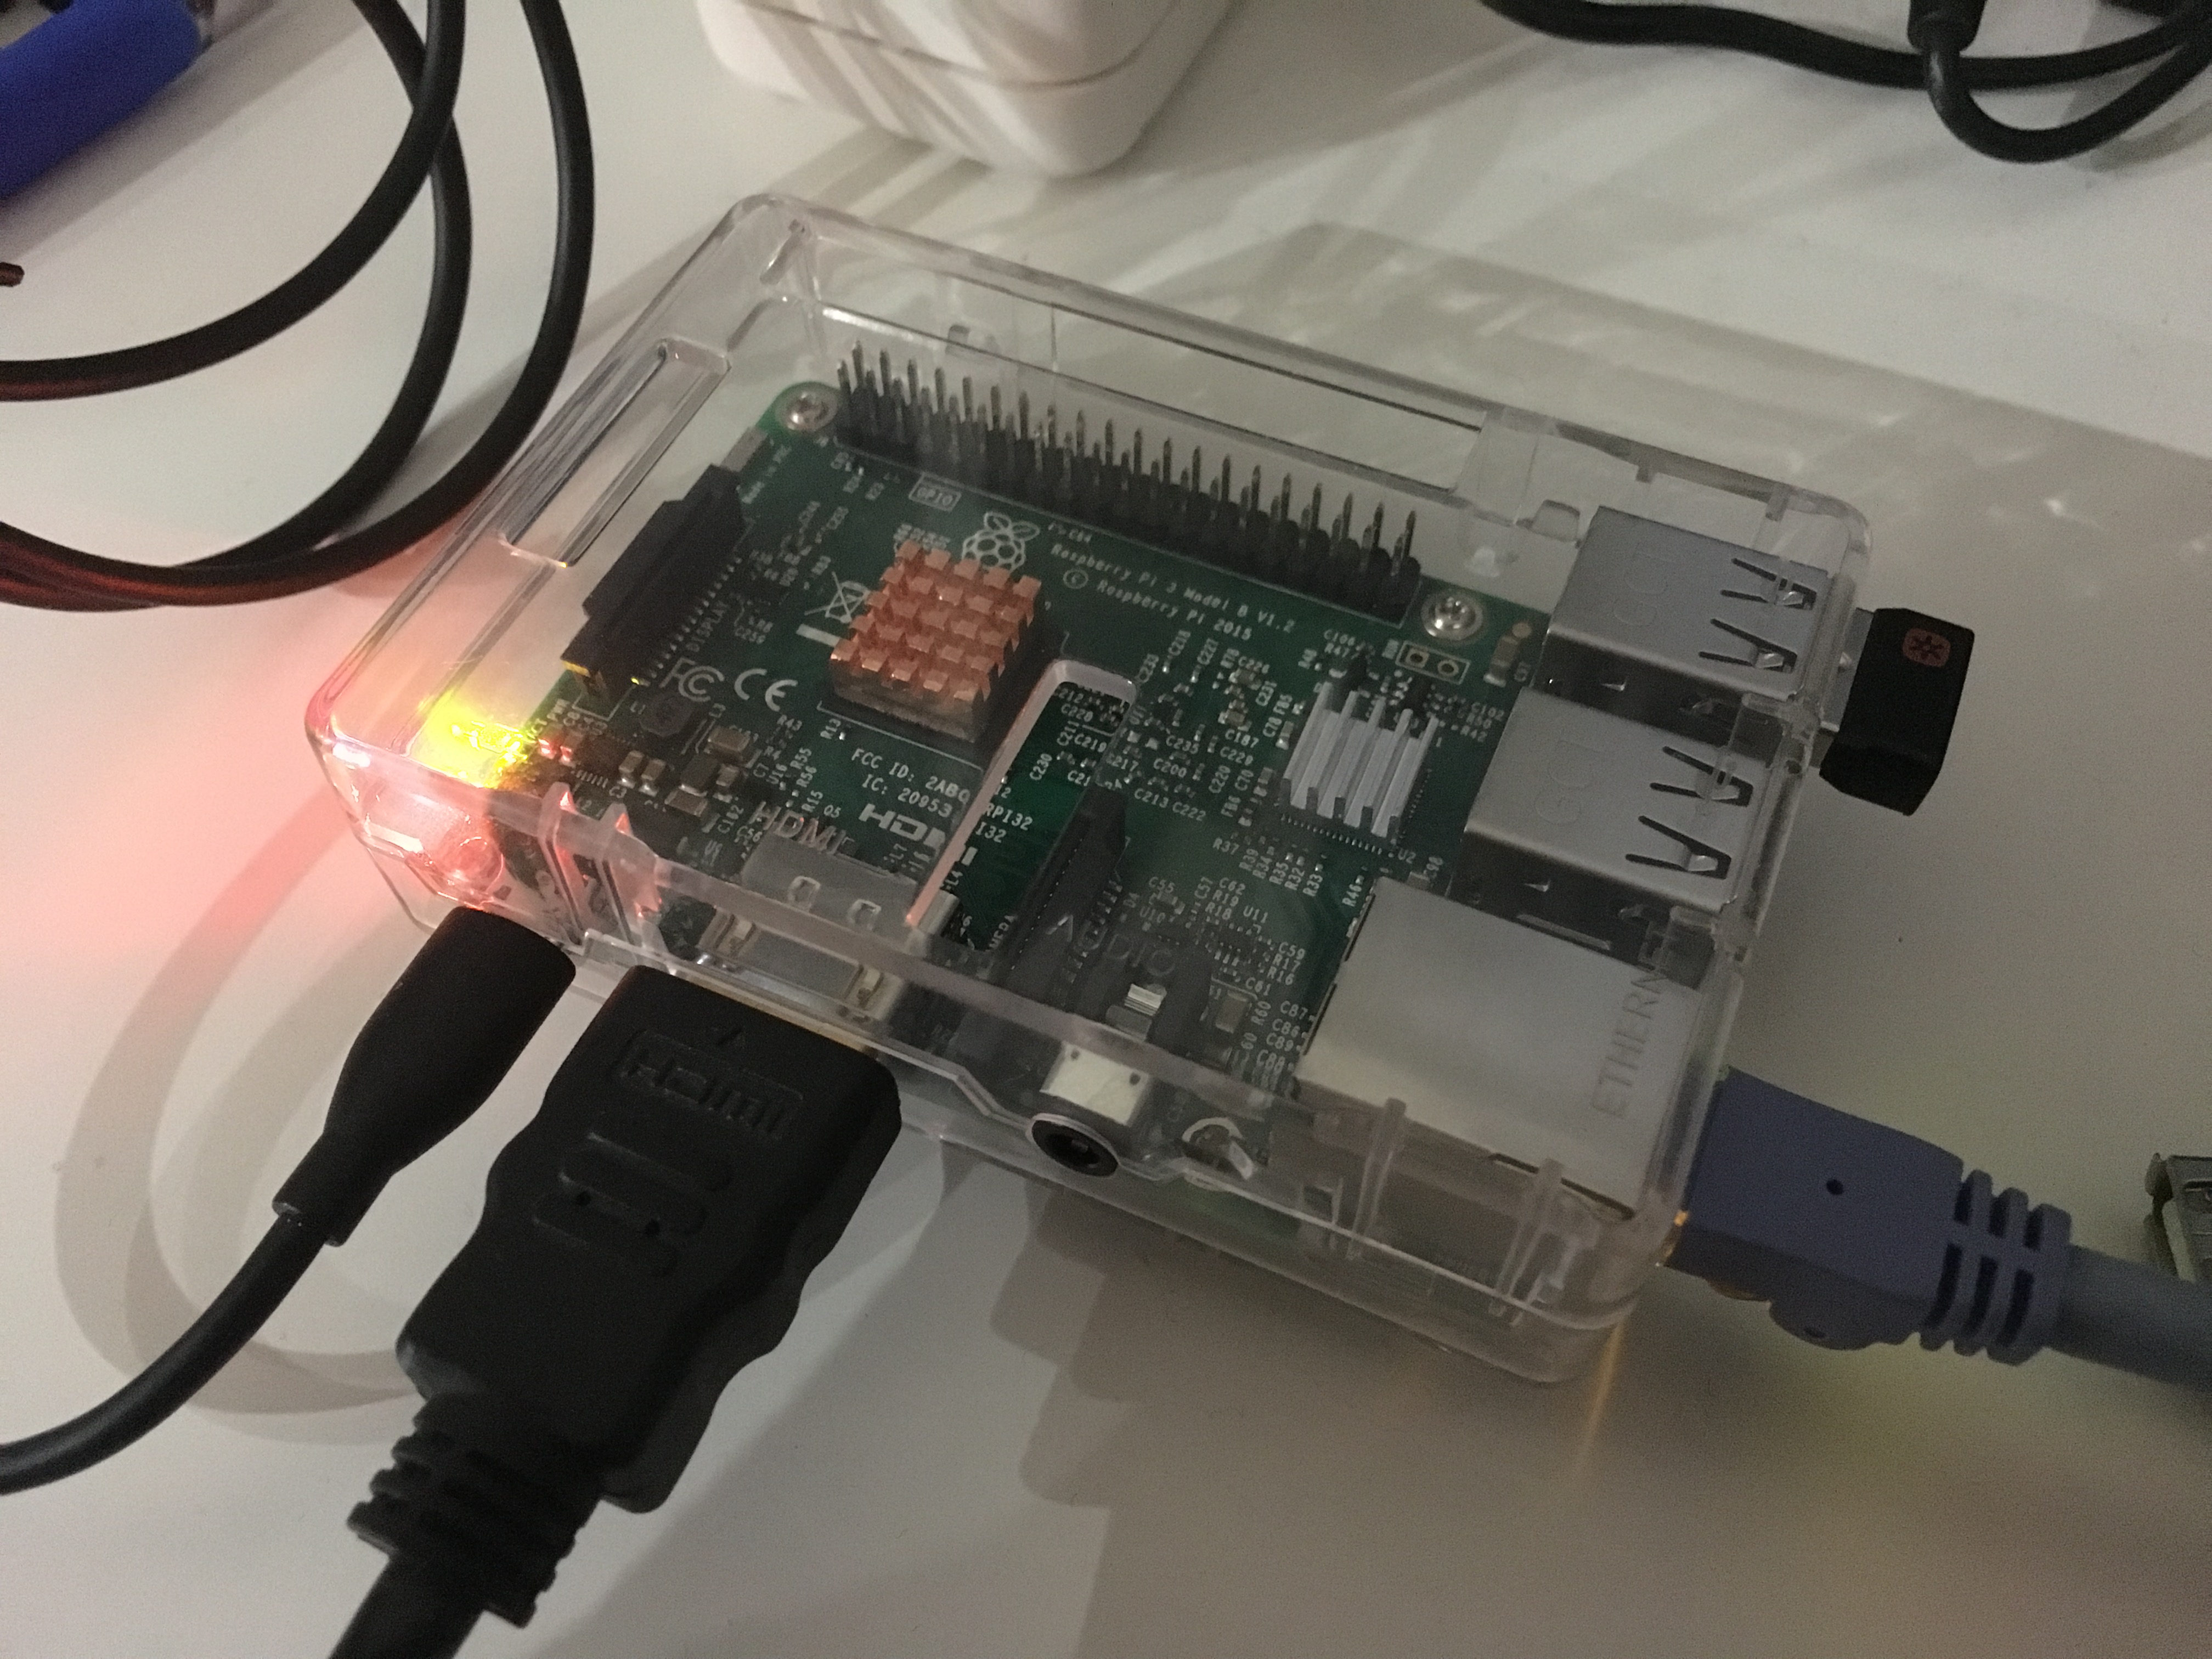
Last week, I decided to buy one Raspberry Pi 3, and try to connect it to my Fuelino Proto3, in order to program it (using Arduino) and extend it with Wireless (Wi-Fi) feature. I am still new to Raspberry Pi, and I am interested to use it to write and compile C/C++ programs and run them in background, to provide connectivity with a Laptop PC or iPhone. I don't need a nice graphics interface, so I decided to install the simple and light Raspbian Jessie Lite on a 16GB Micro SD card (I guess 4GB or 8GB is also OK).
After writing Raspbian Jessie on the Micro SD card (using Win32DiskImager), I put in the card, and connected: micro USB power supply, HDMI, Ethernet cable, and Logitech wireless keyboard, then turned on the power.
The setup was pretty easy. Just log-in (username: "pi", password: "raspberry"), then run "sudo raspi-config" to: extend partition, activate SSH, disable Serial. After that, "sudo shutdown -r now" to restart.
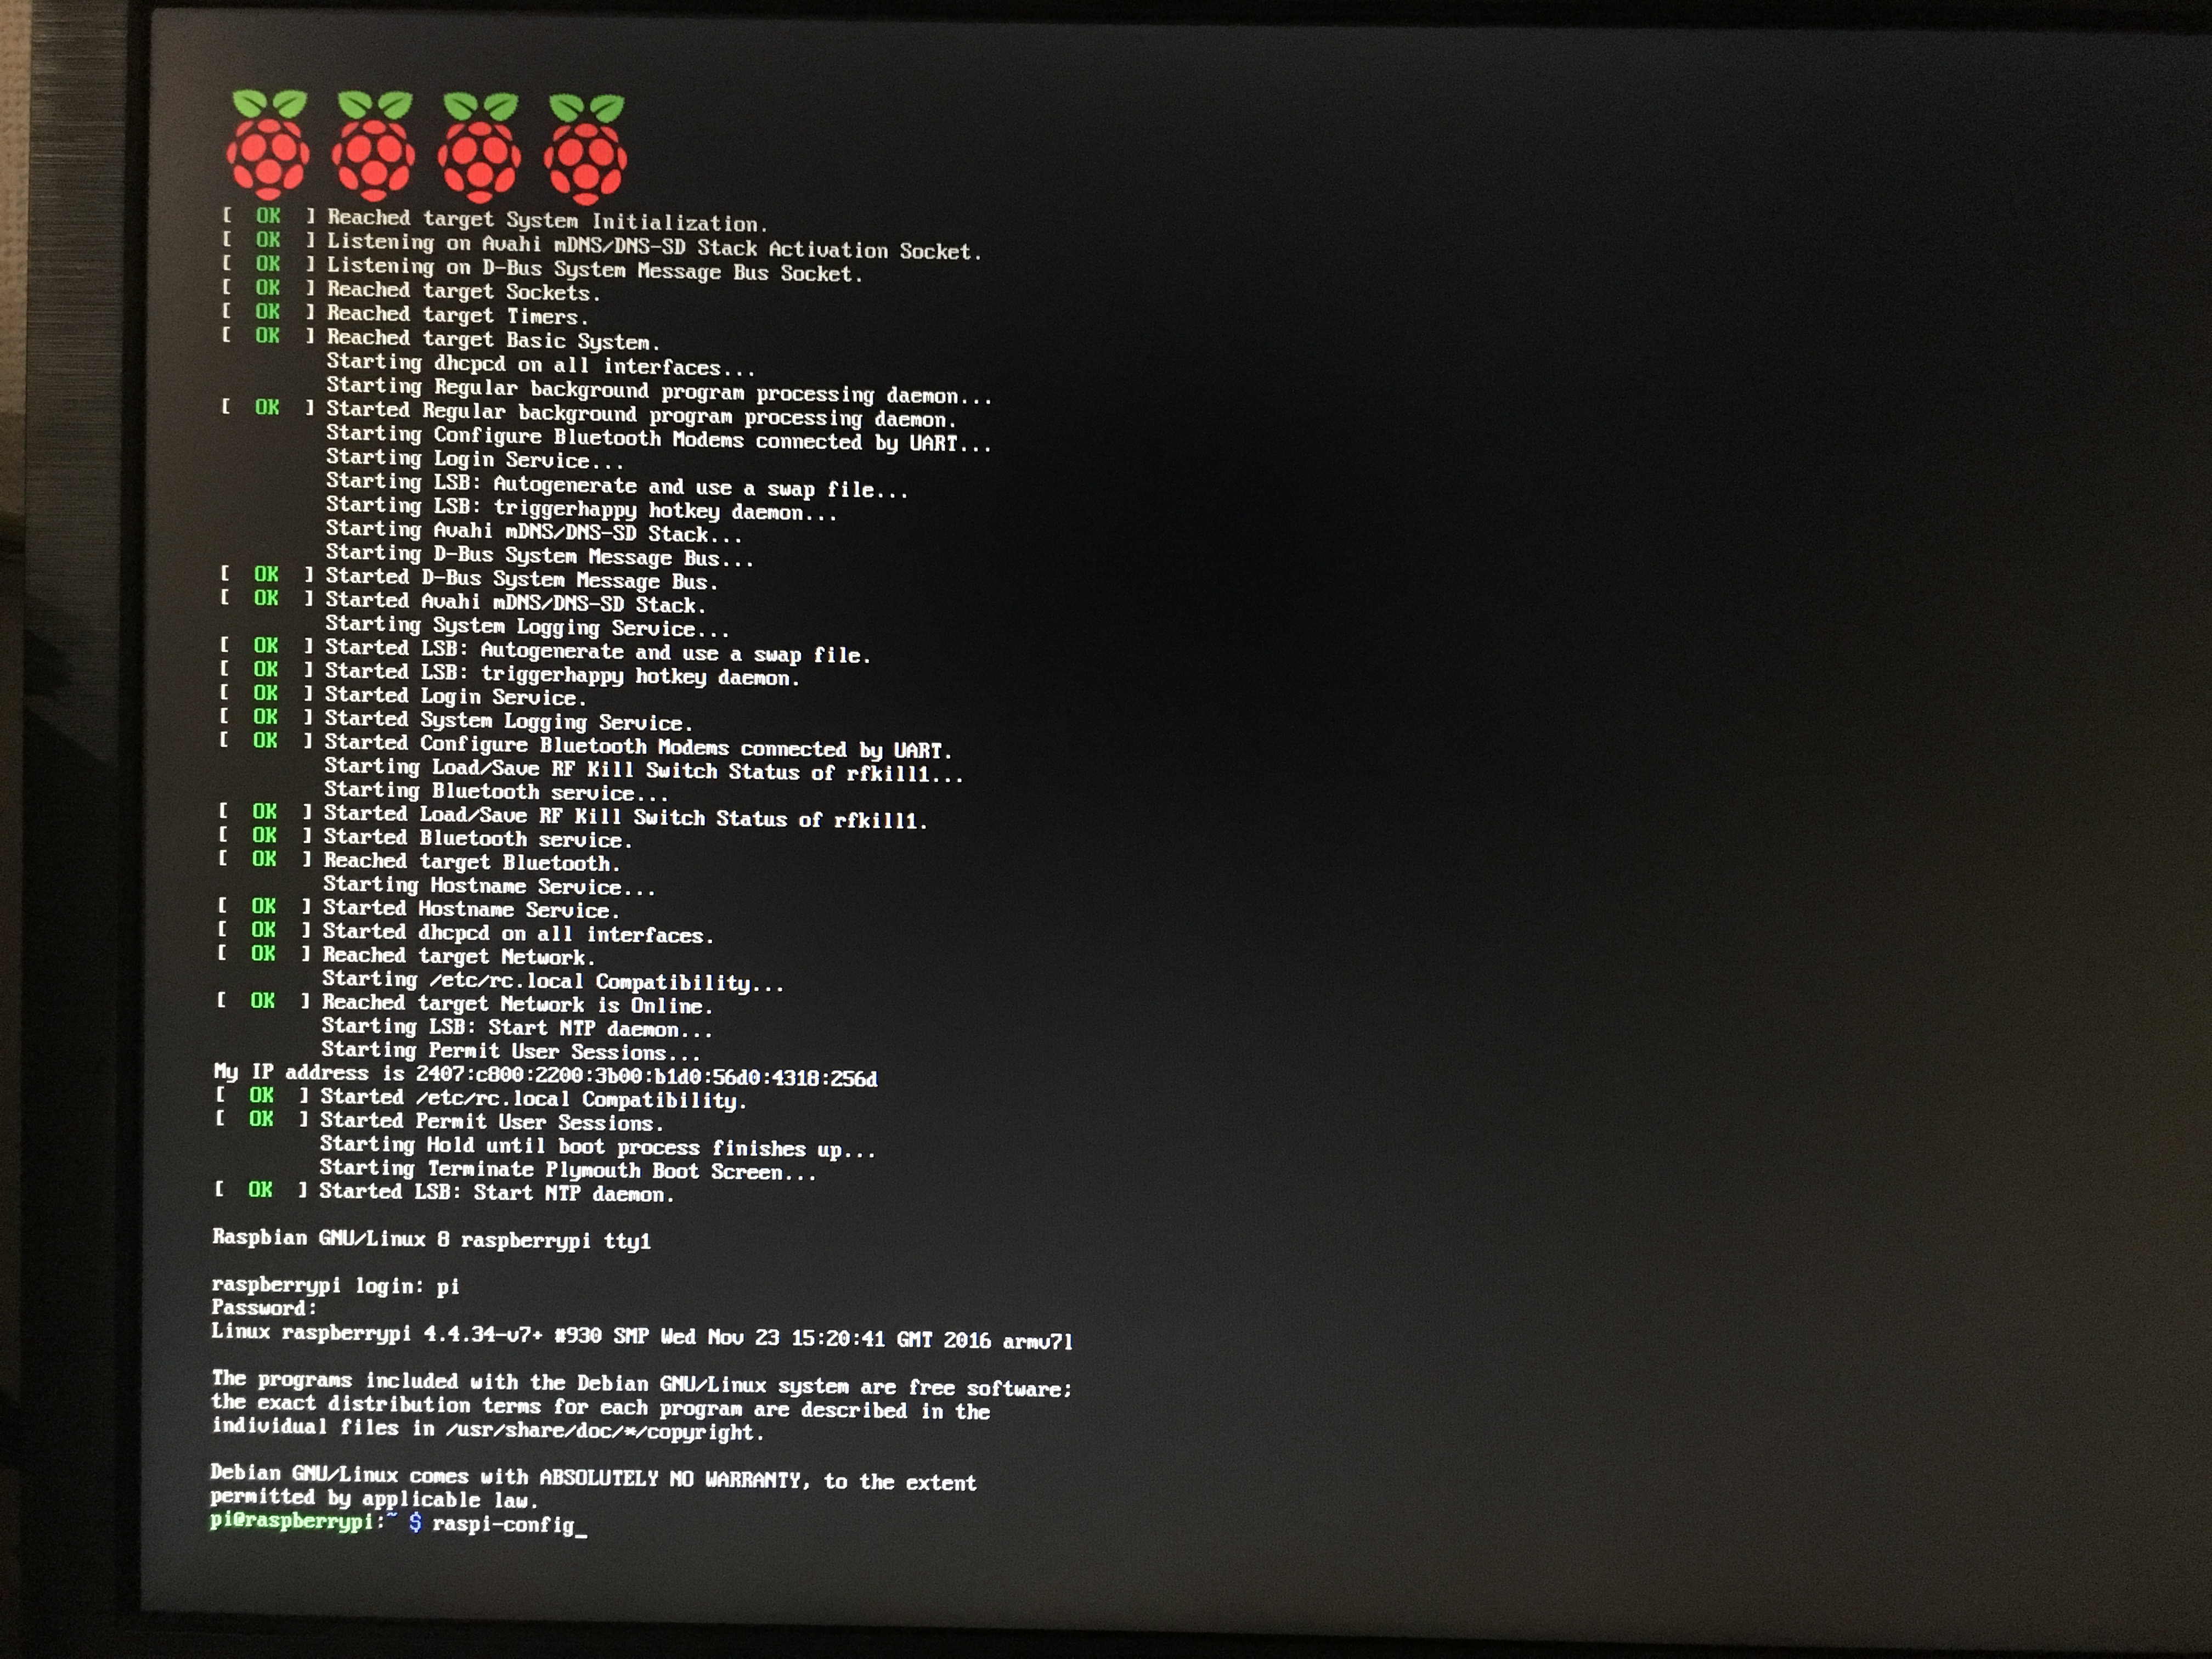 After rebooting, you don't need the monitor and the keyboard anymore, so it is possible to detach them. Only Ethernet cable and micro USB power are needed. In order to connect to Raspberry Pi using SSH, I used a client called Putty. You can easily find the IP address by running "ifconfig" on the Pi (before detaching the HDMI monitor), but since I already removed the monitor, I decided to use the free "Advanced IP Scanner" on Windows.
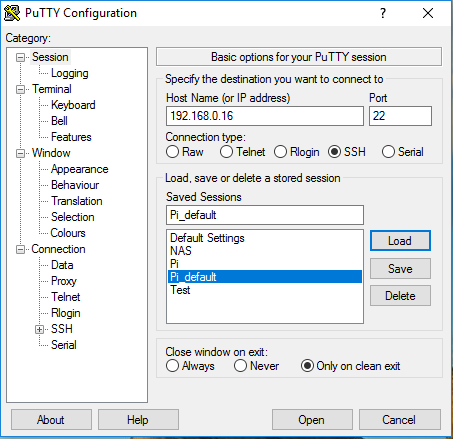
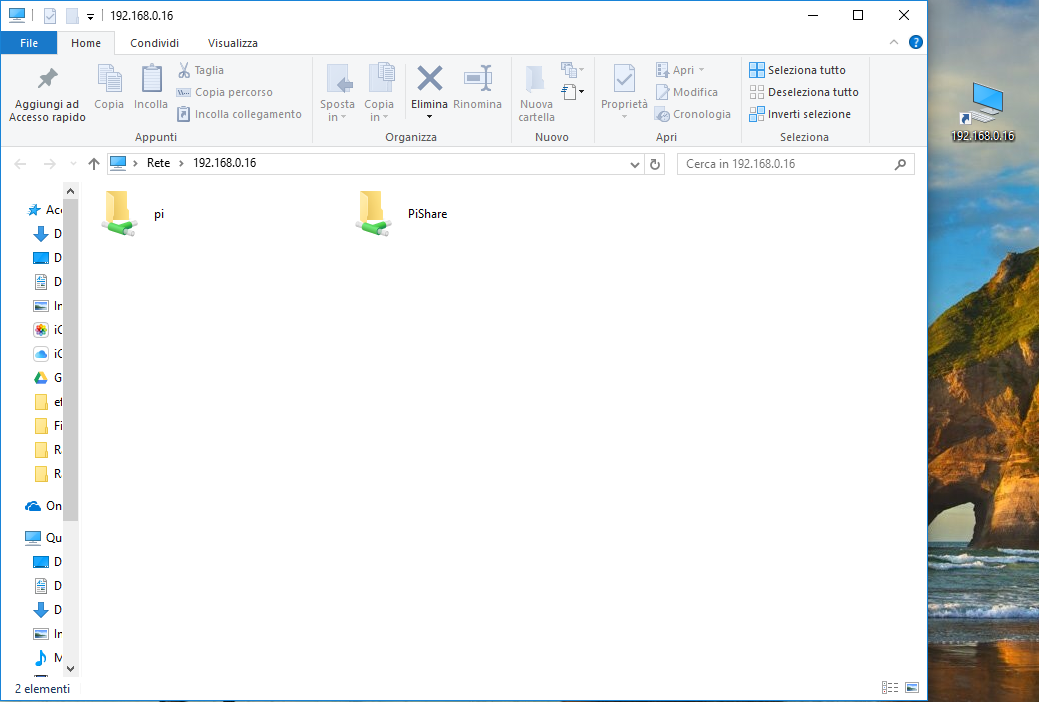
Since I wanted to access the files of the Raspberry Pi using my Windows PC, and use Raspberry Pi in "headless mode" (= no monitor, remotely controlled), I installed Samba. Samba allows to access files stored on Linux, from Windows PCs. I created a guide with many screenshots, please download it here: samba_raspberry_pi_3_jessie. The basic steps are as following. First, connect using Putty (SSH port 22).
 Then, type the following lines, one after the other. To quickly write them on Putty, you can just copy one line and then right click on Putty. It will paste the command for you.
sudo apt-get update
sudo apt-get install samba samba-common-bin
sudo nano /etc/samba/smb.conf
In the file, you need to make some modifications. You need to set the “workgroup” (in my case I set “PIPPO”), and un-comment (remove "#") “wins support = yes”. In the “Authentication” field, write “security = user”. At the end of the file, write as below.
[PiShare]
comment=Raspberry Pi Share
path=/home/pi/share
browseable=Yes
writeable=Yes
only guest=no
create mask=0777
directory mask=0777
public=no
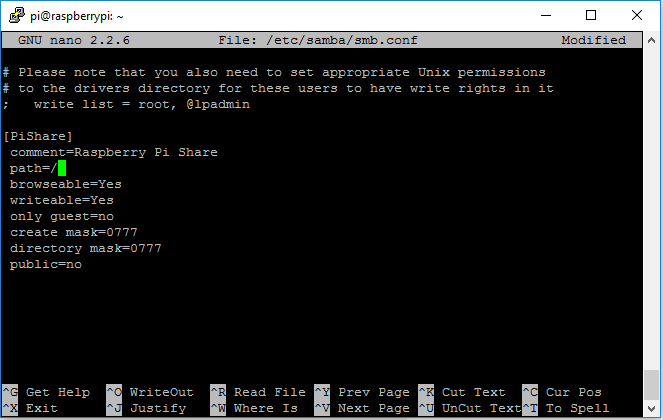 Then close and save the file by pressing "CTRL + X" and "Y".
sudo smbpasswd –a pi
Set the password, for example "raspberry". This is the password that Windows will ask you, when connecting to the folder. Then restart Samba.
sudo /etc/init.d/samba restart
Just to make sure (but probably not needed), restart the Pi by typing:
sudo shutdown -r now
Now you should be able to access the Raspberry Pi folders remotely.
 All detailed steps are available in this PDF guide: samba_raspberry_pi_3_jessie.
I'm afraid you missed one vital step that throws up an incomprehensible (for a non-Linux person) error.
There is no "/home/pi/share" folder so Samba crashes.
So this much be created before restarting Samba.
Other than that a great how-to 🙂
Thanks!
I understood. Thank you for having told me about this mistake. I apologize.
John M. In your answer the /home/pi/share would cause samba to crash - what is your solution as to correction so we all can learn and understand your correction. IE: being would it be better to set the Samba share off a root level setting - 1 directory only with no tier ie: best directory for Samba would be cd / ; mkdir /share . oppose to cd / ; mkdir /Samba/share in seeing this is a 2 tier folder setting. That would allow others to learn by any finger slip or mis-thought. We all win when we have details to learn better off each other.
Great looking guides which I will be trying out as soon as I can.
However, what would you need to do in order to get a Pi using Raspbian to be able to access a folder on a network storage device (such as a Western Digital My Book Live)?
no one ever explained that / error ?
no one ever explained the / comment for windows users ?
Please note that the command 'sudo smbpasswd -a pi' needs to be issued while logged-in locally.
It doesn't work through Putty using the suggested configuration.
Thanks for this guide!
Hi, Davide! Many thanks to you for good article. It seems that you are also using WordPress with 2016 standart theme?) And you are a beginner in blogging, like me, aren't you?
Let me take you small advice: edit your style.css file to get rid of top and bottom black borders in a full-screen mode. In this case more content will be fitted to page and it will look more beauteful.
It will be interesting for me to chat with you and to excange with some experience and to help each other to promote our blogs xD
So, here is my website: http://www.enblo.ru (I'll duplicate it in a field below) and personal e-mail ^-^