
In this post, you can find the downloadable version of the software to be flashed in the ECU.
After creating the ECU electronic circuit for adjusting your motorcycle Fuel Injection timings, it is necessary to upload the software inside the Arduino Micro.
The software which I created is composed by 2 parts:
- "Tempo" library. It is composed by two C++ files (tempo.h and tempo.cpp). This library is necessary to manage the Timer1 timer of the ATmega32U4 microcontroller inside the Arduino Micro. The library that I created is a modified version of the TimerOne library; I removed the unnecessary functions and adapted the remaining one to this application. My "Tempo" library (Version 1) can be downloaded here: tempo_library_v1. In order to use this library, you have to extract the ZIP file and put the content ("Tempo") folder inside your "Arduino" folder in your PC. In my case, the "Arduino" folder is inside the "Documents" folder in the C: drive.
- Arduino sketch (filename: "efi_davide.ino"). This is the application core. The file can be downloaded here: efi_davide_20160131_v1. You should first create a folder called "efi_davide" in you "Arduino" folder, and put inside it the file "edi_davide.ini" which you get when you extract the ZIP file.
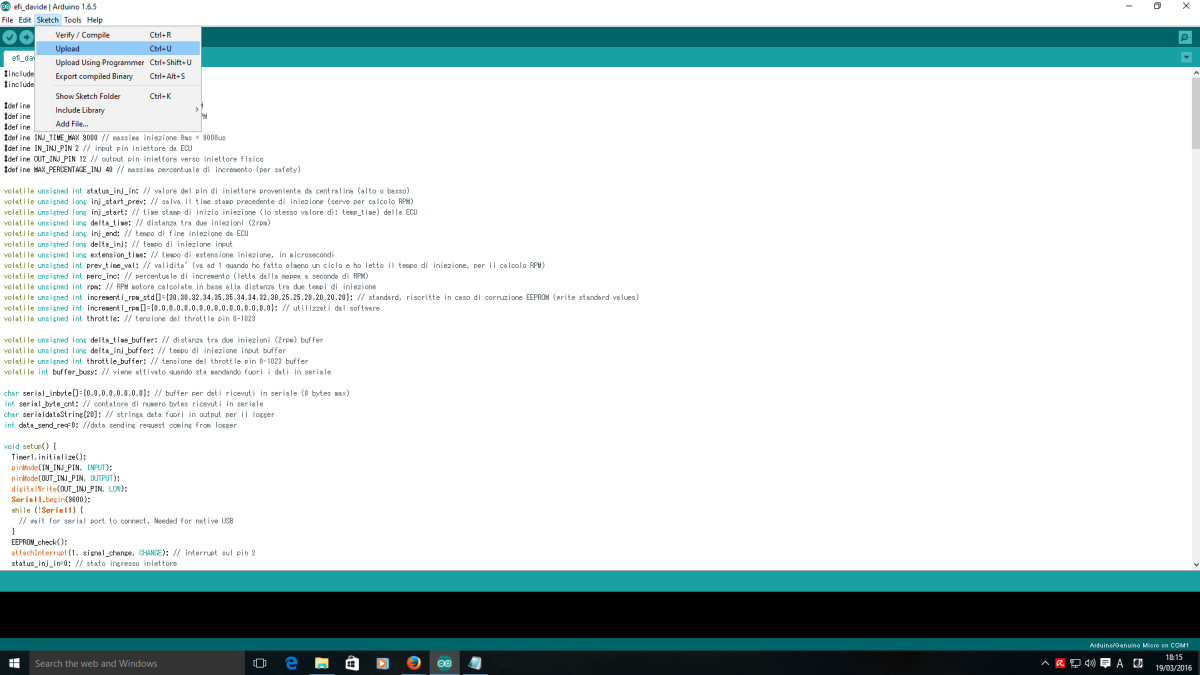
After copying the files in the Arduino directory, open the "efi_davide.ino" file with Arduino IDE (the version installed on my PC is 1.6.5).
Before uploading the file, you can modify the injection correction percentage array (variable "incrementi_rpm_std[]"), which contains, for each index related to the engine rotation speed, the percentage of increment for the injection timing. The array has 16 components, and manages engine rotation speeds from 0rpm to 15999rpm (index 0 corresponds to 0-999 rpm range, 1 corresponds to 1000-1999 rpm range, and so on...). For example, if the engine is rotating at 3500 rpm, and the Honda Original ECU injection time is 5000 us, in case index 3 is set to 20, the new ECU will open the injector for a total time of 6000 us (5000 us +20%). At the first run, these values are saved in the EEPROM memory, and can be changed later using the Serial Communication, without the need of flashing a new software each time that you want to try a new parameter configuration.
I will give soon give additional details on the software in the next article.
have you considered making this for 4-6-8 applications? Non sequential 2-3-4 bank batch fire? What modifications would have to be done. Thanks
At the moment (Februrary 2017), the most recent Fuelino board is the "Fuelino Proto3".
The HW supports 2 injectors (which means 2 cylinders engine). However, the actual SW supports only 1 injector, at the moment.
Increasing the number of injectors to (4, 6, ...) increases the complexity of the circuits: more MOSFETs and Zener diodes are needed, to manage the injector command circuits, proportionally to the number of injectors. Also, more hysteresis comparators would be needed, and also Arduino input/outputs and interrupts and so on. And of course, the calculation power and RAM memory increase. And together, the PCB area should increase, therefore the dimensions (now it is 5cm x 5cm).
After making a simple analysis, I think that the best compromise is 2 cylinders. In fact, most of motorcycles (and go karts) run with 1 or 2 cylinders, therefore max 2 injectors.
I'm just diving into this project because I think the work you've done is fantastic. What a simple, elegant, affordable solution for adding EFI to something. I haven't reviewed your schematics to much yet. But judging by your previous response you only have one injector driver? I have a 1995 Katana 600 that I'm considering fuel injecting and eventually turbo charging. While searching for alternatives to megasquirt and microsquirt, I stumbled on your blog. Thank you for your hard work! I'd like to try this on something. Now to just find a single or 2 cylinder project!
Доброго времени суток, уважаемые друзья!! Подскажите схему включения датчиков и форсунок к Ардуино. Спасибо!
Keep up the great work! Cheers from Nova Scotia.
Hi David thks for this info. Can I use this to reflash or backup a motoscooter ecu?
Thks
No sorry. This is not a method to flash your original ECU. It is an additional ECU called Fuelino. Re-flashing your stock ECU is practically impossible nowadays, because each maker protects the data inside the microcontroller.
hi there, i was wondering why didn't you make a CKP input to you Fuelino? your schematics are easy to follow but it lacks CKP input so i can place the Fuelino in a GY6 engine. im looking forward to making this without having to buy an OEM ECU. it would be best if you can show me how can i tap it from a DC CDI for GY6 engine, im really hopeful put this project together for my scooter fuel injection system. thanks!